Getting the rough opening right is the single most important step before a 36 inch door ever goes in. Frame it too tight and the prehung unit will not fit; frame it too loose and the door will never sit plumb. For a standard 36 in x 80 in prehung door, the rough opening should be 38 inches wide by 82.5 inches tall. This guide breaks down the exact number, the simple formula behind it, and the framing steps that keep the install clean.
What Is a Rough Opening
A rough opening is the unfinished framed hole left in a wall where a door unit is installed. It is always larger than the door itself because the opening has to leave room for the door frame, shims, insulation, and the small adjustments that make a door operate smoothly. The opening is measured from stud to stud horizontally and from the subfloor to the bottom of the header vertically.
Standard Rough Opening for a 36 Inch Door
For a typical 36 in wide by 80 in tall prehung door, the recommended rough opening is 38 in wide x 82.5 in tall. The rule of thumb is simple:
- Rough opening width = door width + 2 inches
- Rough opening height = door height + 2.5 inches
So a 36 x 80 door becomes a 38 x 82.5 opening. The same math works across common sizes:
| Door Size (W x H) | Rough Opening Width | Rough Opening Height |
|---|---|---|
| 24 x 80 | 26 in | 82.5 in |
| 28 x 80 | 30 in | 82.5 in |
| 30 x 80 | 32 in | 82.5 in |
| 32 x 80 | 34 in | 82.5 in |
| 36 x 80 | 38 in | 82.5 in |
| 48 x 80 (double) | 50 in | 82.5 in |
Why the Rough Opening Is Larger Than the Door
The extra two inches of width and two and a half inches of height are not waste. They cover the realities of a real install:
- Door frame and jamb thickness – a prehung door ships with a frame that adds width and height around the slab.
- Shimming and leveling – installers wedge shims to make the frame perfectly plumb and square.
- Manufacturing tolerance – slight size differences between brands need a buffer.
- Expansion and contraction – seasonal movement can otherwise make the door bind.
- Insulation and sealing – the gap lets spray foam and weather sealing close air and moisture paths.
- Finished flooring clearance – tile, hardwood, or carpet added later changes the final floor height.
Framing Components for a 36 Inch Door
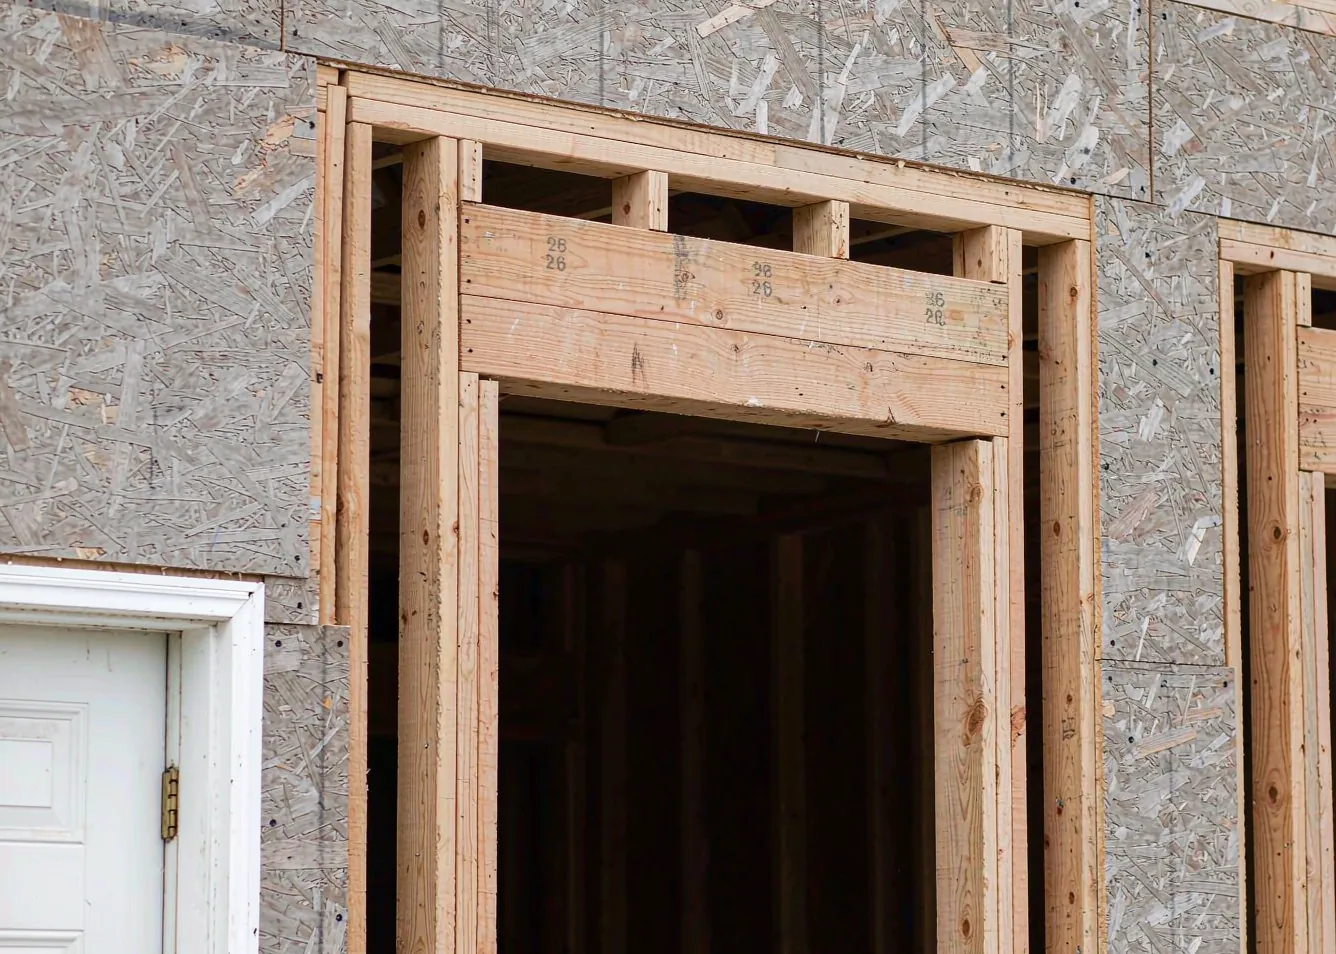
A properly framed opening is built from a short list of lumber pieces. For a 36 in door the standard layout is:
- King studs (2) – full-height studs that carry load from floor to ceiling on each side.
- Jack studs (2) – cut to about 80 in, they sit inside the king studs and support the header.
- Header (1) – a double 2×6 or 2×8 with a 1/2 in plywood spacer, cut to roughly 38 in and set level on top of the jacks.
- Cripple studs – short studs above the header that fill the space to the top plate.
- Rough sill (1) – a level 2×4 at the base of the opening that supports the door bottom.
Step by Step Framing Guide
- Measure and mark – lay out a 38 in width and 82.5 in height from the subfloor, and confirm the marks at several points.
- Install king studs – set two full-height studs on each side of the opening for structural support.
- Install jack studs – cut them to about 80 in and secure them inside the king studs.
- Build and install the header – assemble the double lumber and plywood spacer, cut to 38 in, level it on the jacks.
- Install the rough sill – set a level 2×4 at the bottom; for exterior doors add support for the threshold.
Interior vs Exterior Door Openings
Both use the same 38 x 82.5 starting point, but exterior doors often need a little more care. The thicker frame, threshold, flashing, and weather stripping on an entry door can push the practical height toward 82.5 in or slightly beyond, and the sill area needs solid backing. Always follow the specific manufacturer installation sheet, because frame systems differ.
How to Measure an Existing Rough Opening
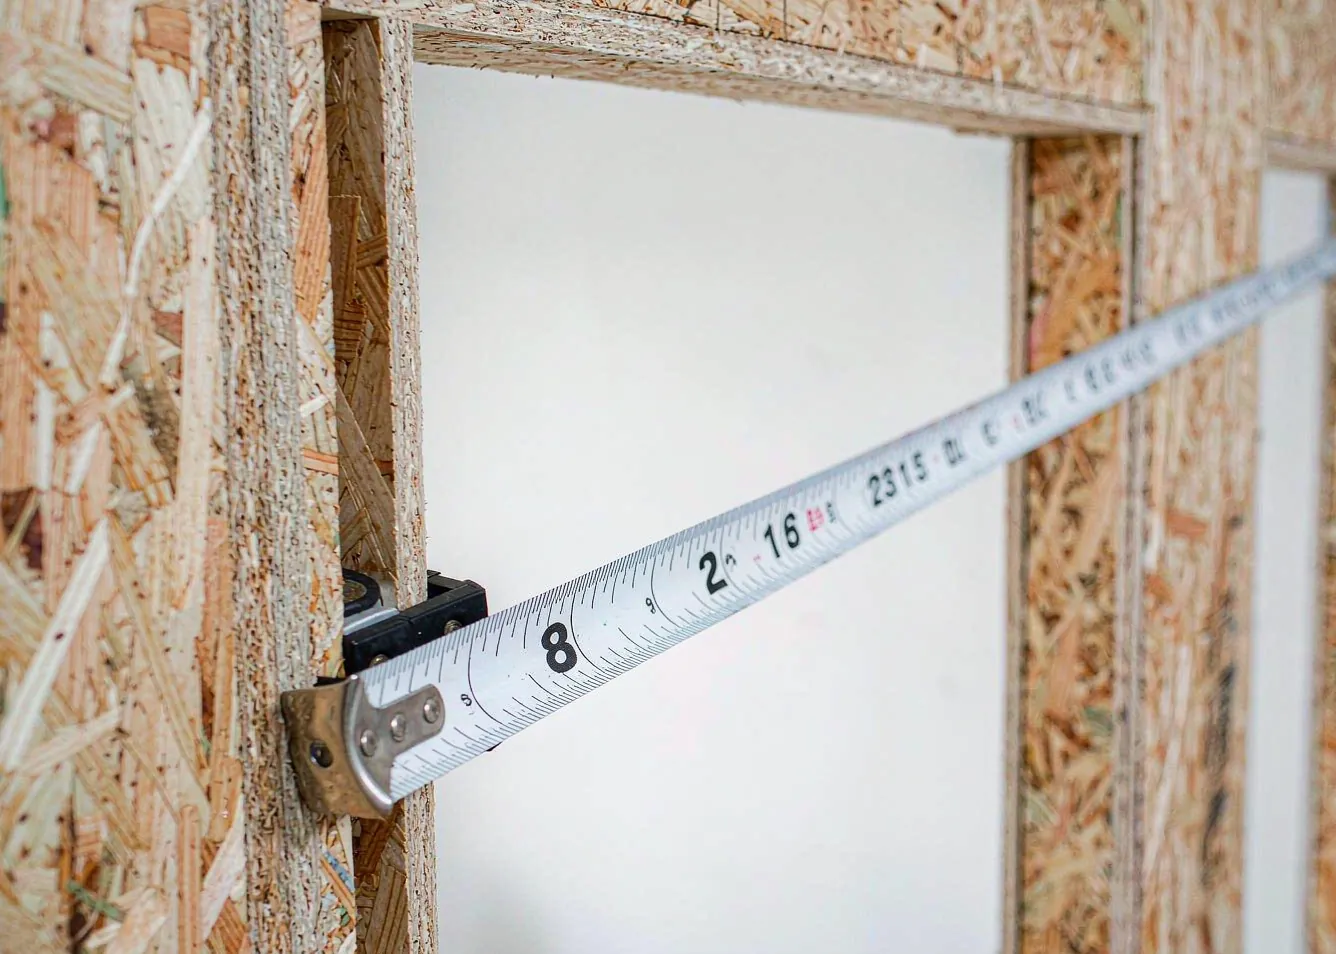
Replacing a door in an older home starts with measuring what is already there:
- Width – measure across the opening at the top, middle, and bottom; use the smallest number.
- Height – measure from the subfloor to the header at the left, center, and right; again use the smallest.
- Depth – check the wall thickness (2×4 walls are about 4-9/16 in, 2×6 walls about 6-9/16 in) so the jamb matches.
- Diagonals – compare both diagonals; a difference over 1/4 in means the frame is racked and must be squared.
Common Framing Mistakes to Avoid
- Opening too small – the frame will not fit and the wall needs reframing.
- Opening too large – big gaps make leveling and securing the unit difficult.
- Ignoring finished flooring height – the door can scrape or sit unevenly once tile or wood goes down.
- Skipping the manufacturer spec – some door systems call for different clearances than the standard rule.
When the Rough Opening Is the Wrong Size
If the opening is slightly off, shims can correct minor discrepancies. If it is badly out of square or the wrong dimension, the fix is to add or remove framing before the door arrives. Ordering the door to match the smaller measured reading and planning the shim pack around it prevents a return trip to the lumber yard.
Why Work With a Foshan Door Specialist
For custom solid wood, aluminum, or steel doors, the rough opening is only half the story – the door itself has to be built to the right jamb depth, swing, and weather rating. George Design Foshan has manufactured and installed custom doors since 2006, supplying projects across Australia, the United States, and Ghana. If you are planning a remodel and want the opening and the door specified together, contact our team for measured guidance before the wall is closed up.